Being able to represent content in a graphical way can add immense meaning and visual appeal to any document. All the Microsoft 365 apps provide the ability to easily create a SmartArt graphic to provide a visual representation of information rather than the traditional numbered or bulleted list or other display options.
The SmartArt feature is not to be confused with the Charts feature as they do offer separate functions.
If you are interested in using SmartArt in PowerPoint, be sure to check out the post for that.
To insert a SmartArt graphic in a Word document, follow these steps:
- Open Microsoft Word and create a new blank document:
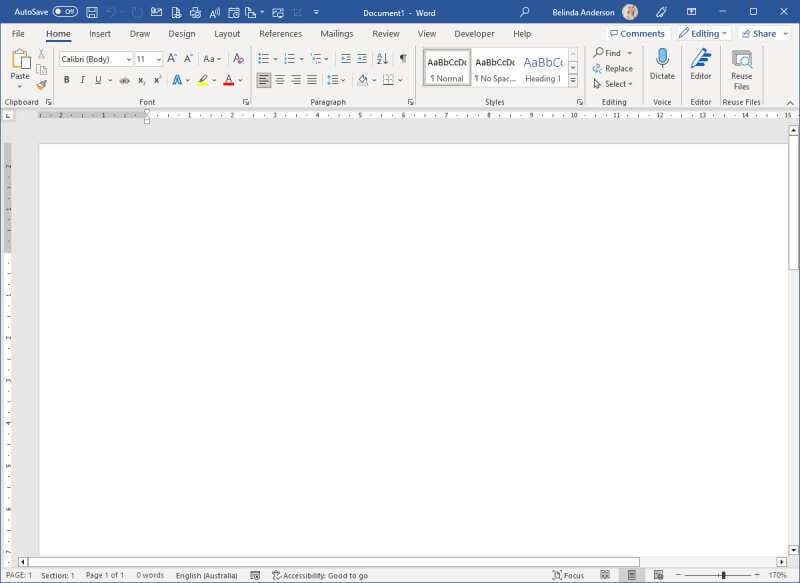
- Now let’s insert a SmartArt graphic
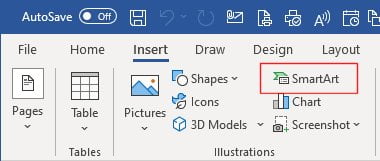
- Select the Insert tab and click the SmartArt button
- The Choose a SmartArt Graphic window will appear:
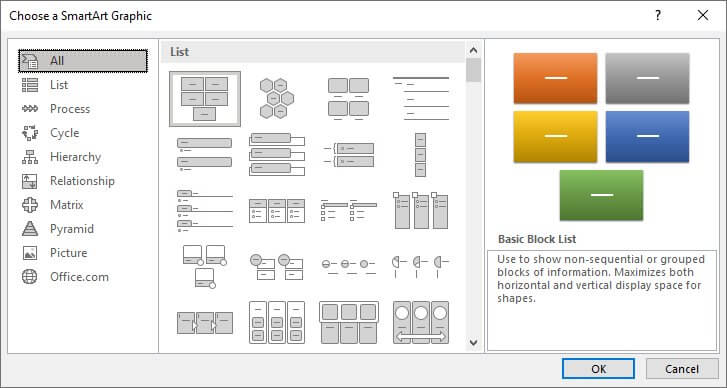
- You will see the various categories shown on the left side of the dialog box
- Scroll through the options to see what is possible, then select the List category and choose the Horizontal Picture List option then click OK.
- An empty SmartArt graphic will now be added to the page.
- You will now see you have two new tabs appearing on the Ribbon, the SmartArt Design and Format tabs. These are contextual tabs, so are only visible when you have the SmartArt graphic selected. Once you deselect or click off the SmartArt graphic, these tabs will disappear.
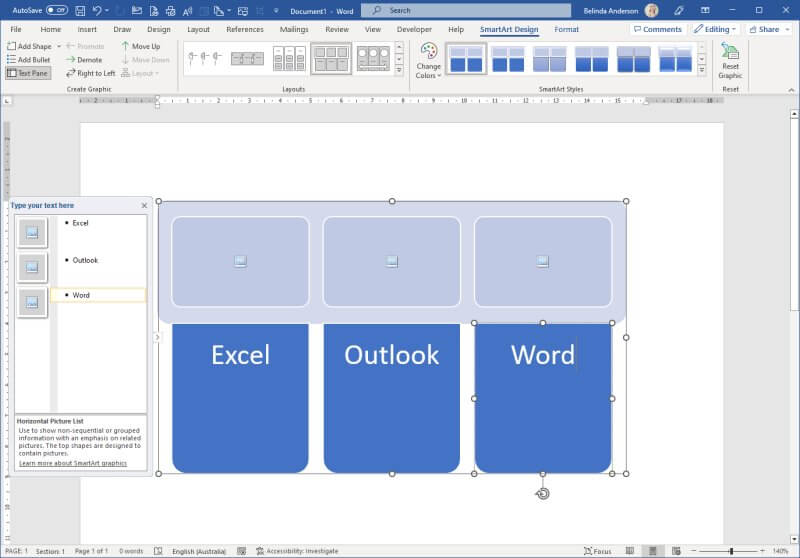
- Beside the SmartArt graphic you will see the Text Pane which allows you to add text into each shape:
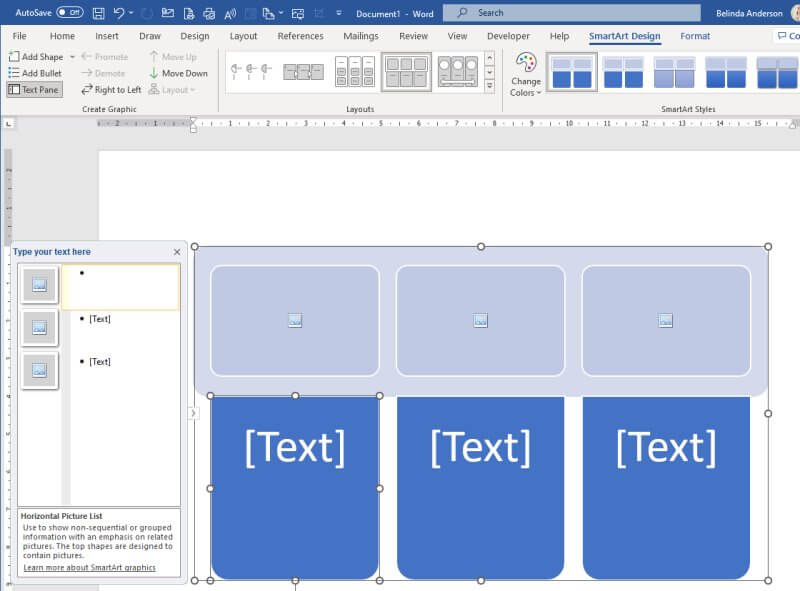
- Alternatively, you can type directly into the shapes rather than using the Text Pane
- Now click on the first bullet point in the Text Pane, this represents the first shape in the graphic
- Enter the text you wish to display, for my example, I am going to list some of the Microsoft apps
- Now click in the next bullet point and enter text for the next shape
- Repeat this process to add text for each shape displayed:
- Let’s say you want to add an extra shape, a 4th option:
- To add a new shape ensure that the bullet point for the last shape is selected in the Text Pane
- Press the Enter key to add a new shape.
- You will now see a new shape appear allowing you to add another option:
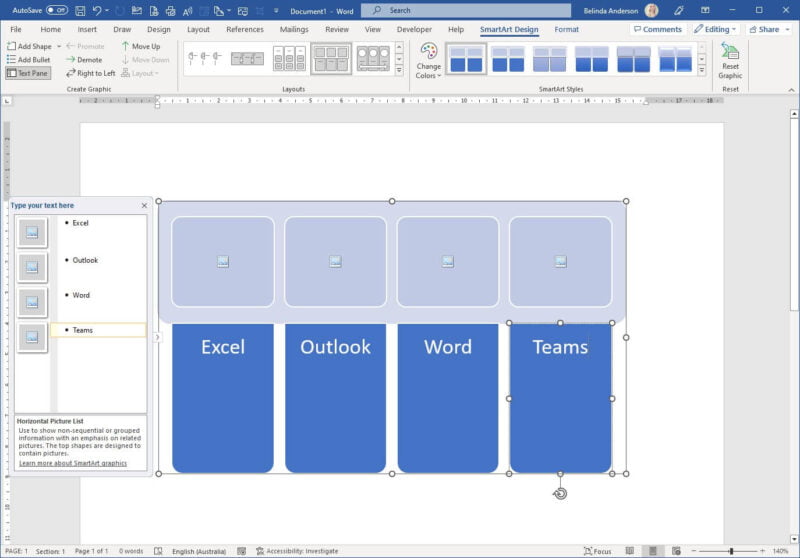
- Just like it creates a new bullet point in other Office products, here it will insert a new shape and allow you to add another item
Moving shapes around within the SmartArt graphic
Follow these steps f you need to change the position of the shapes within your graphic.
- Select the shape from the SmartArt graphic or select the item in the Task Pane list
- Select the SmartArt Design tab
- From the Create Graphic group, you will see buttons to Move Up and Move Down. Use these to change the position of the shape
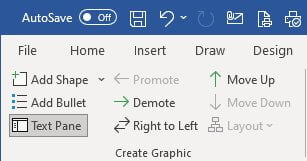
- The shape will move as needed
Add sub items to a shape in SmartArt
A few of the different SmartArt graphics allow you to have sub items listed within the shapes. You can then add a main heading or title and have bullet points then displayed within the shape with additional information.
- Select a shape within the graphic
- Press the Enter key to add a new shape
- Now with the new shape still selected go to the SmartArt Design tab and click the Demote button

- This will demote the new shape back to be a sub item of the previous shape.
- Type in the text for the sub-item.
- Repeat the process for the other shapes to create sub-items.

Add pictures to each shape in SmartArt
There are many SmartArt graphics available which allow you to easily incorporate a picture.
- Make sure the SmartArt layout you have chosen includes an option to add pictures.
- If not, change the layout through the SmartArt Design tab and select a new option from the Layouts gallery.

- Once you have a layout which incorporates pictures, click the first shape allowing a picture to be added, you will see the Picture icon displayed within the shape.
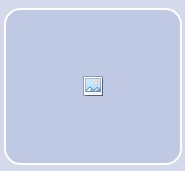
- The Insert Pictures window will appear allowing you to choose where you want to source the picture. I’m going to use an image I have saved to my computer, so I will use From a File.
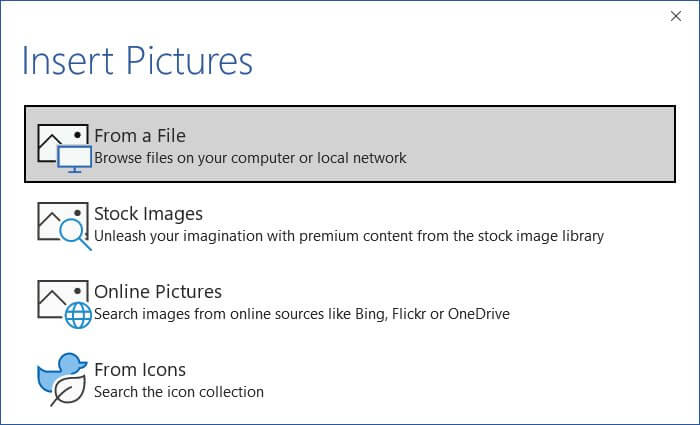
- Select the image from your computer, or from another source.
- The image will be displayed inside the shape.
- Repeat the process for any remaining shapes allowing pictures.

Change colour of shapes in SmartArt
When you add any SmartArt graphic to your document, it will use the theme from your document for the colour scheme, most likely to be blue for the default Office template. You will likely want to change the colour scheme to match your document or styling.
- Make sure the SmartArt graphic is selected
- Click the SmartArt Design tab
- Click the Change Colors button
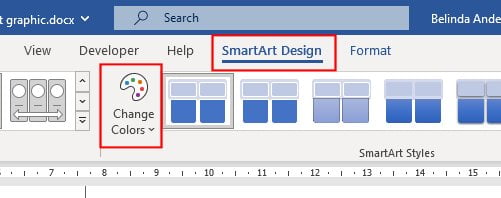
- Choose a different colour scheme from the preset options.
- Alternatively you may choose to change the colours to your own customised colour scheme.
- Select an individual shape so that you can see the white dots around the outside border

- Select the SmartArt Format tab
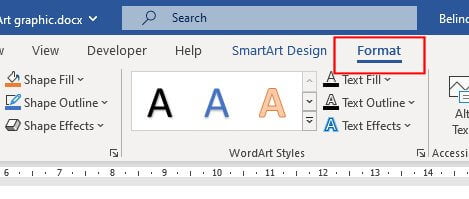
- Now use the Shape Fill button and choose a custom colour for the shape.

- Repeat the process for each remaining shape.
That’s a wrap
I hope this has helped you to start working with SmartArt graphics in Word. They are a really great way to provide a visual representation of your data rather than the standard bullet or numbered lists we see day to day. Be sure to check out my other articles covered more features of Microsoft Word.


