Microsoft Forms is a part of the Microsoft 365 suite of programs and allows you to create surveys, quizzes, and polls with ease. It is a popular choice for educators, businesses, and individuals alike. One of its wonderful features is the ability to shuffle questions within a form, which can significantly enhance the effectiveness of assessments. In this post I am going to explain the ins and outs of this feature and step you through the process to enable this within your own Microsoft Form.
Why shuffle questions in a Form?
By displaying questions in a random order, you can reduce the likelihood of patterned responses and ensure a more accurate evaluation of your respondents’ knowledge or opinions.
This feature is particularly valuable in educational settings, where maintaining the integrity of quizzes and tests is crucial. It prevents cheating by making it difficult for participants to share answers based on question order and keeps the experience fresh and engaging for every user.
Beyond education, shuffling questions can also improve the quality of surveys and polls by minimising bias, as respondents are less likely to be influenced by the sequence in which they encounter questions.
The shuffle feature does not shuffle or randomise the order of answers, but rather the actual order of the questions within the form. The Shuffle questions option is only available for forms which do not use sections or branching. Either of these features will deactivate the Shuffle questions option within the settings of the Form.
Create a simple Microsoft Form
First up we will create a simple form to use as a demo for this exercise. We will only need 3 or more questions within the Form to successfully see the shuffle option in effect.
- Open a web browser.
- Enter the address https://forms.microsoft.com.
- Click the Sign in link in the top right-hand corner.
- Sign in with your Microsoft 365 username and password.
- The Microsoft Forms homepage will be displayed:
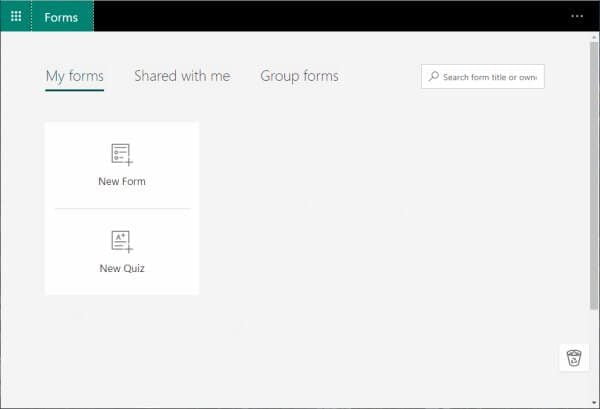
- Click New Form from the options.
- A new Untitled form will appear.
- Click in the title and rename it to something appropriate such as Survey.
- Now add some questions. If you are not sure how to add questions, refer to these blog posts to help out with some of the different question types: How to add text-based questions in a Form, Create multiple-choice questions in a Form, or how to add Rating questions in a Form.

Shuffle Questions
To shuffle questions:
- Click the ellipsis (…) button in the top right corner of the Form window:

- From the menu select Settings.
- From the Settings pane, scroll down to locate the Shuffle questions field and tick the box.
- Choose between All questions and Lock questions.
- When choosing Lock questions, you can select which range of questions are locked in place e.g. 1-4 while the remaining questions will be shuffled.
- For this exercise use All questions.
- Click back into the Form area to close the Settings panel.
Test the Form
Now that you have selected to Shuffle questions, you will want to test the functionality prior to sending the form out to respondents.
- From the Forms window, click the Preview button.

- The form preview will appear.
- Press the Refresh, or Reload button in the web browser. The keyboard shortcut F5 will work with most browsers.
- The questions will now shuffle and change order.
- Use the Back button to return to the Form window and make any further changes if needed.
Share the Form
Now it’s time to share your form so that you can begin receiving responses.
- From the Form window, click the Collect Responses button:

- Choose which method you wish to use to send a link to the form.
Check here for more information on how to share a form.
I hope this has helped on how to shuffle questions in your Microsoft Form. Remember that this feature will not work if you have sections, or branching set up in the form. Comment below with any questions.